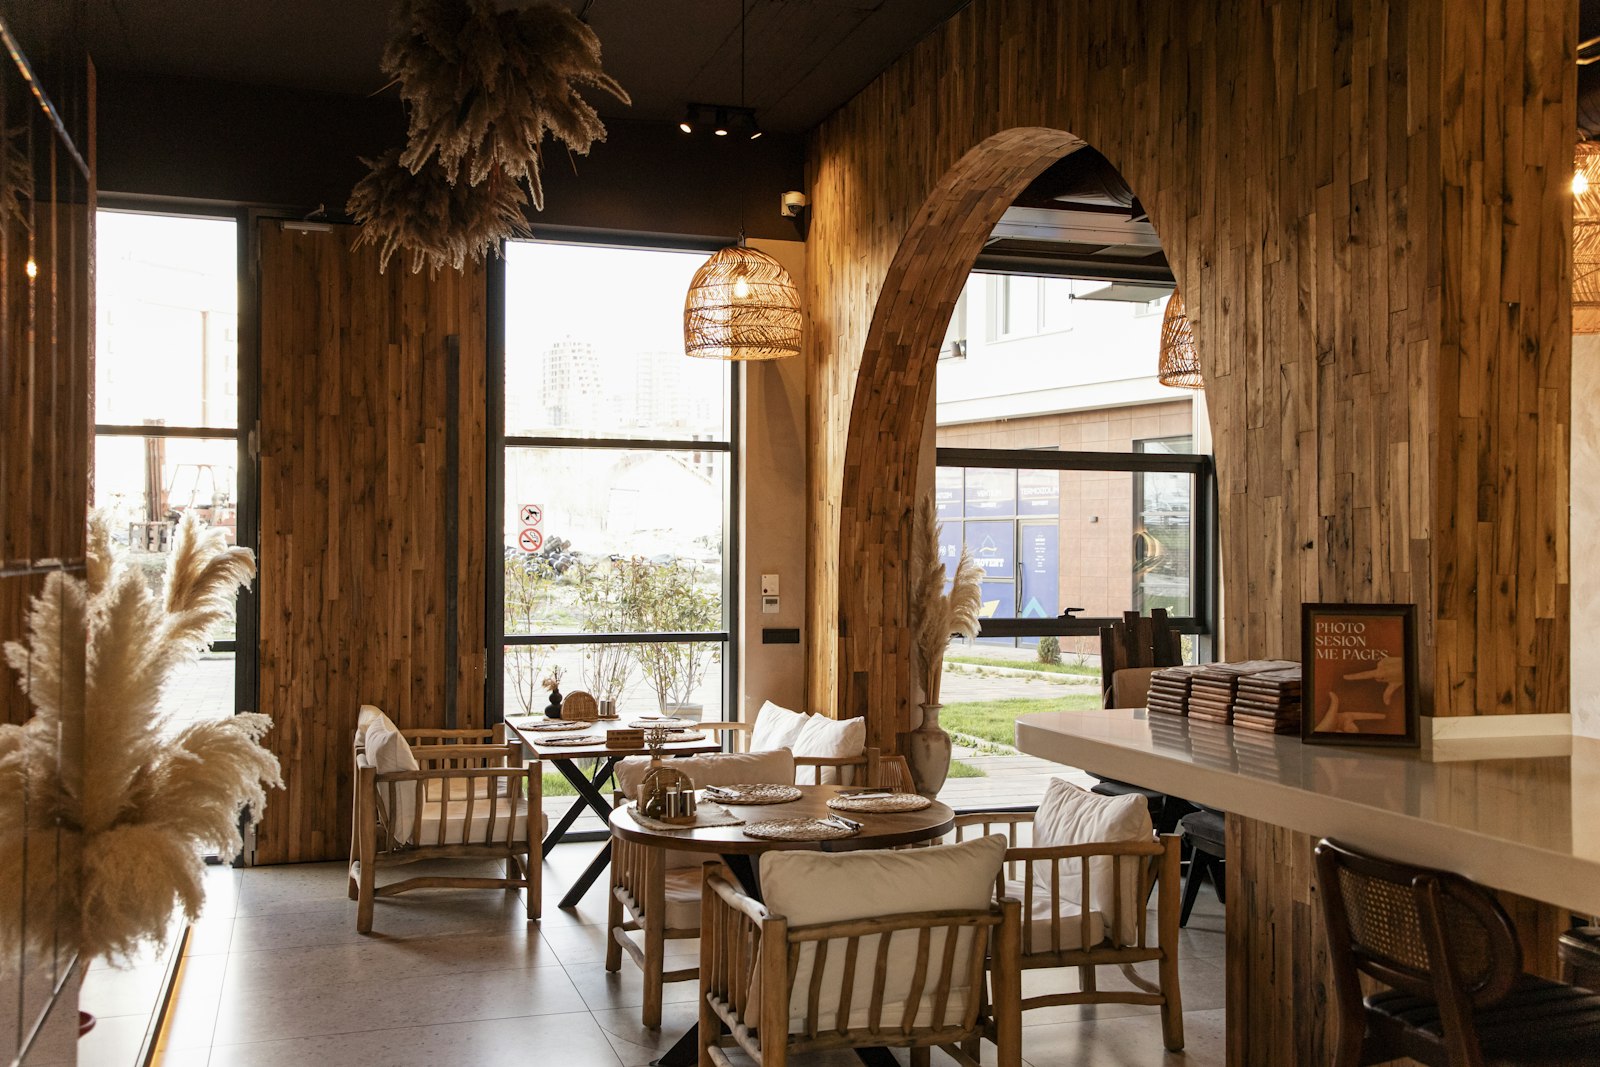
Customers often see your business online before they visit it. A 360° tour can help them understand your space, but the camera will show much more than a standard photo. Preparing well means showing your business clearly and honestly, not making it look like a different place.
Google points out that virtual tours let people look inside a business before they visit, and that business photos should represent the place as it really is. Here is a simple plan for the day of your shoot.
Decide what customers need to see
Start with the questions a new customer might ask. Can they recognise your entrance? Is there room to browse? What does the seating area or treatment room actually look like? Your answers will tell the photographer which spaces matter most.
For a café, that might be the entrance, counter and seating. For a hotel, it might be the lobby, common areas and the room types you offer. For a shop, it might be the shopfront, main aisle and product displays. Aim for a mix of exterior and interior views: the outside helps people recognise you, the inside helps them decide.
Make a short list of must-see areas and a separate list of areas that must stay private. Share both before the shoot. If an important feature is not part of the tour, ask whether a normal photograph would show it better.
Tidy the whole space, not just one corner
A 360° camera looks around the entire room at once. Check what can be seen behind the counter, under tables, on shelves and near the doors. Remove temporary clutter, spare boxes, loose cables and private paperwork. Wipe mirrors and glass, straighten chairs and make sure signs are easy to read.
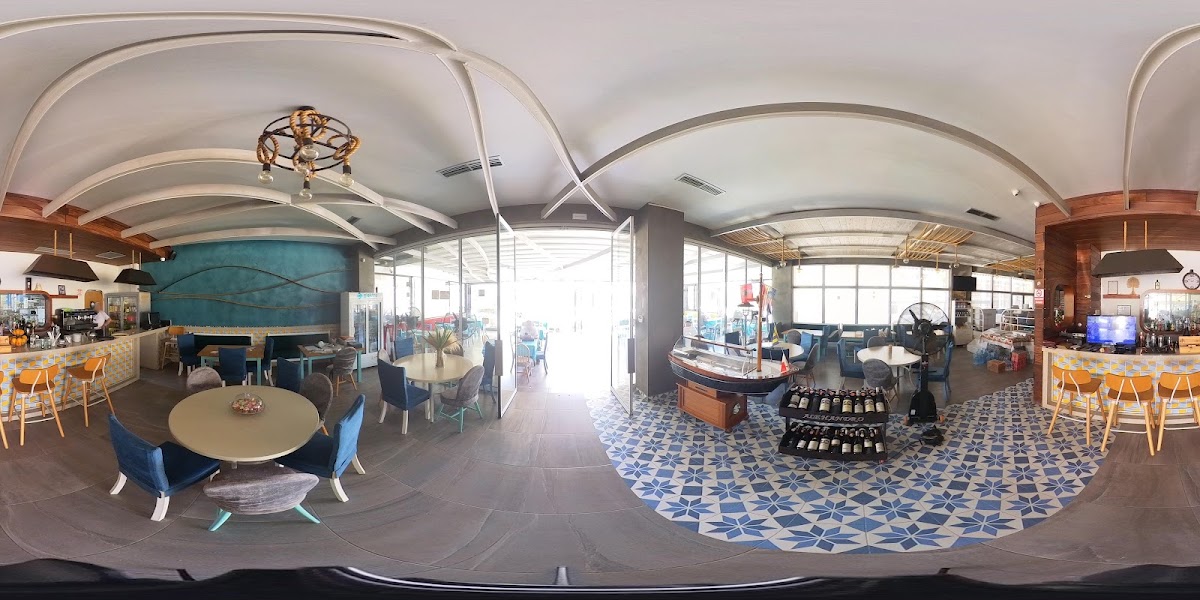
Keep the normal character of the place. Do not remove useful furniture, block a less attractive view or show a layout customers will not find when they arrive. The goal is a clean, well-lit and accurate picture, not an edited one.
Check the light and choose a sensible time
Walk through each area at the time you expect the photographer to arrive. Open blinds where daylight helps, switch on working lights and replace failed bulbs. Watch for dark corners, strong reflections and bright windows that may need extra care.
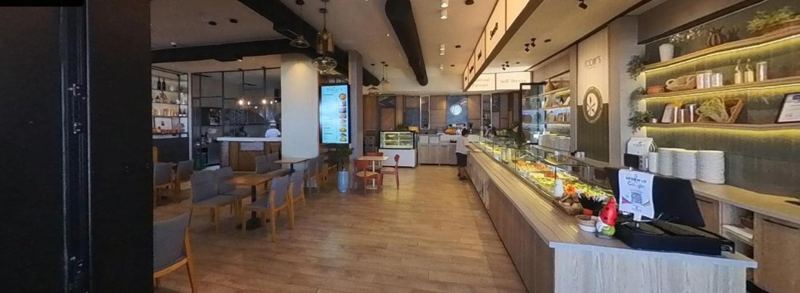
Choose a quieter period if you can. That gives the photographer space to work and makes it easier to keep customers’ faces and personal details out of the images. If you want to show the atmosphere of a busy service, discuss that in advance rather than surprising staff or guests on the day.
Prepare your team and protect private areas
Tell your team when the shoot will happen and which areas will be photographed. Decide who can open doors, move small items and approve the final route. Put away booking sheets, payment information, staff records, guest belongings and anything else that should not appear online.
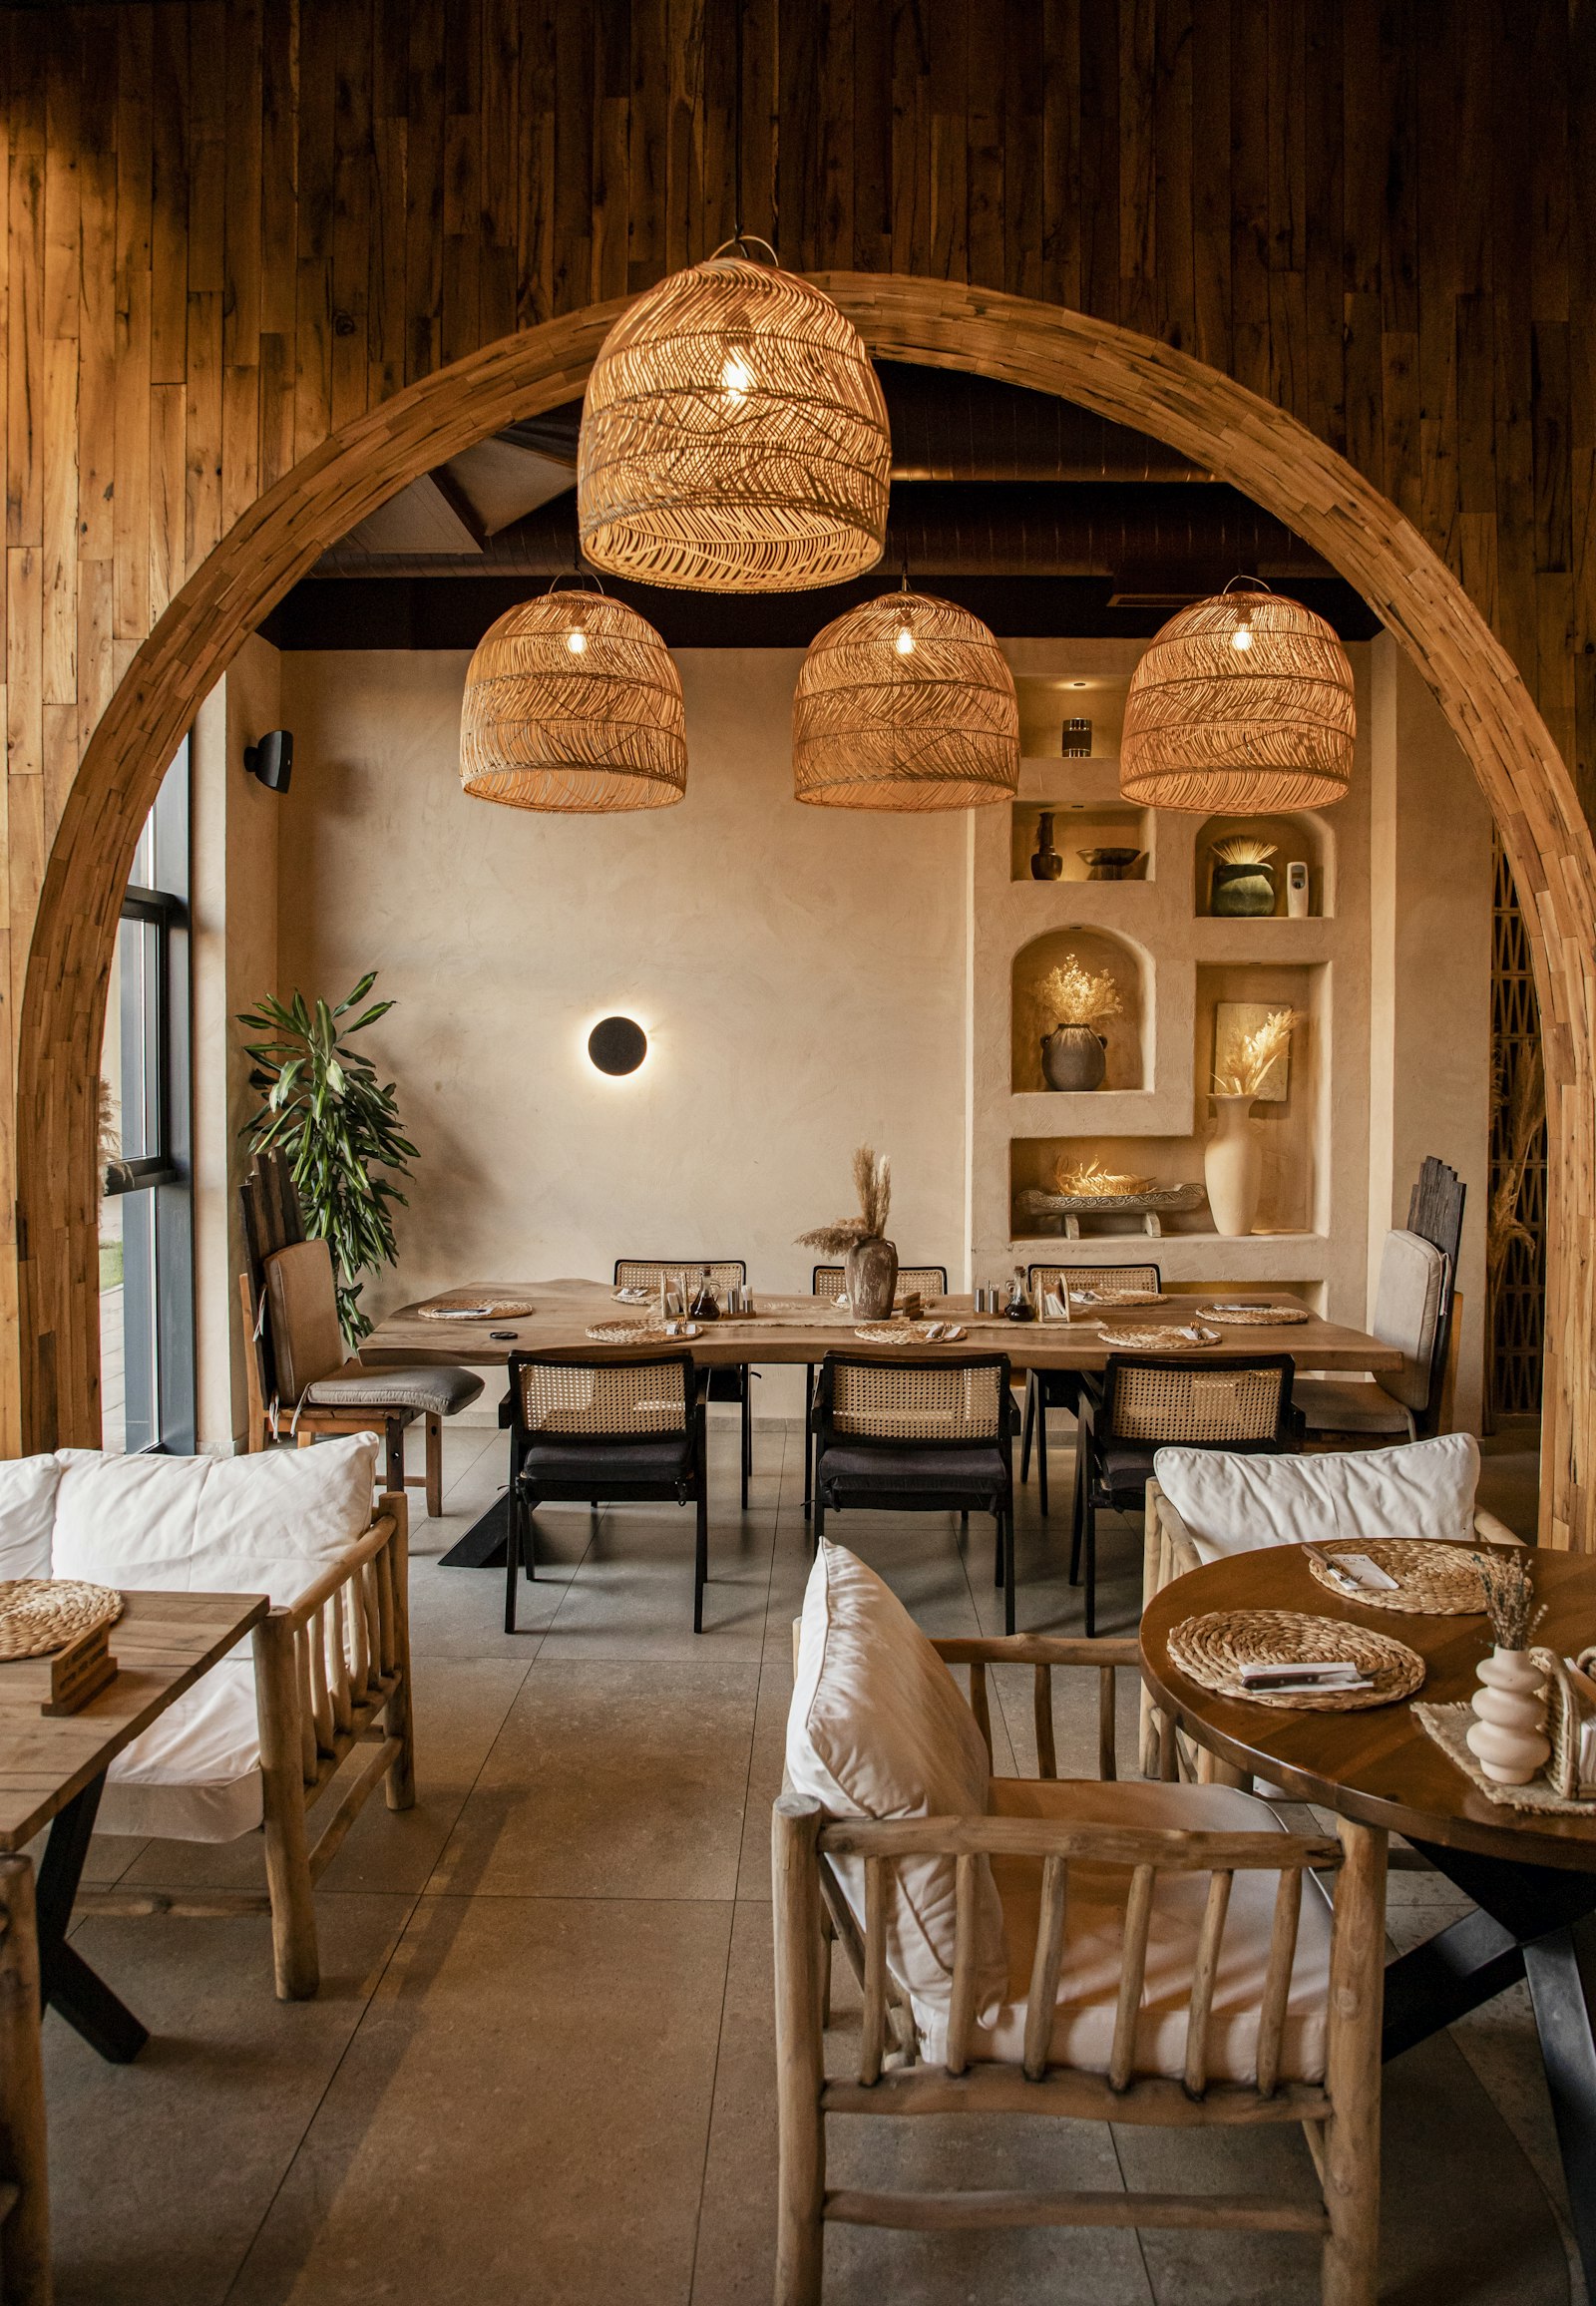
If people may be in shot, agree with the photographer how they will be handled and obtain any permissions you need before publication. Keep the route away from staff-only rooms and any space you are not authorised to show.
Make the arrival experience part of the story
Take a quick look from the street. Is the sign visible? Is the correct entrance obvious? Can a first-time visitor work out where to go? An exterior view helps people identify the premises, and Street View imagery can also show practical details such as parking or an accessible entrance.
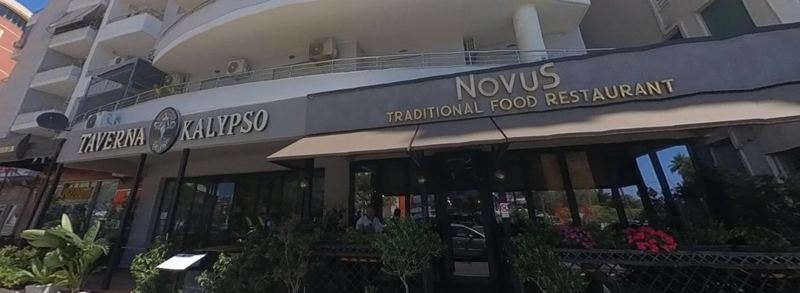
If your business sits away from the main road or is hard to find on Google Maps, ask about a walking route that connects the nearest street to your entrance. Visitors can then follow it step by step in Street View and arrive at the right door.
Be accurate about access. If a ramp, parking space or entrance is not always available, do not imply that it is. Your online first impression should match the customer’s real visit.
What happens after the shoot
The shoot itself usually takes one to two hours. After that, the panoramas are processed, connected into a walkable tour and published to your Google Business Profile. Publication takes a few days, depending on the size of the property.
Once the tour is live on Google Maps, you can also embed it on your website or link to it from a QR code at the entrance, on menus or in booking confirmations, so guests can look around before they arrive.
Your pre-shoot checklist
- Choose the spaces that answer customers’ main questions.
- Confirm the route and identify private or restricted areas.
- Clear clutter, personal information and temporary signs.
- Check lighting, windows, mirrors and working bulbs.
- Brief staff and arrange a quieter time where possible.
- Check the shopfront, signage and customer entrance.
- Agree where the finished images may be used and who will approve them.
A good 360° shoot does not need a perfect-looking business. It needs a clear plan and a space that looks like the one your customers will actually visit. Want to see the result? Browse our portfolio of tours across Albania, or get in touch and we will help you plan the route.
Leave a Reply